Tuesday, April 15, 2008

Head badges!

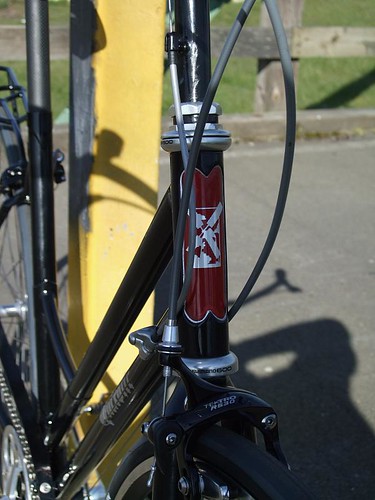
I have two working models of the new head badge. They are essentially the same graphic, but the background uses negative space a bit differently.

One is a bit more filled in with a positive sky and negative clouds:


The other has a negative sky with positive clouds:


I think I like the the second one a bit more. Thoughts?

Shiggy at mtbtires.com was kind enough to cut them for me out of some brushed aluminum vinyl I found. The vinyl has been a great way to do some quick and inexpensive prototyping before doing this in stainless (and maybe some in copper).

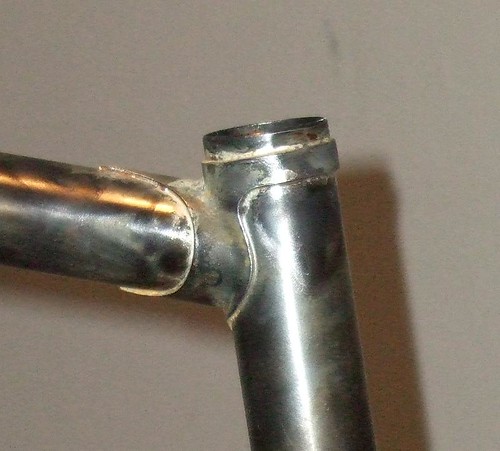
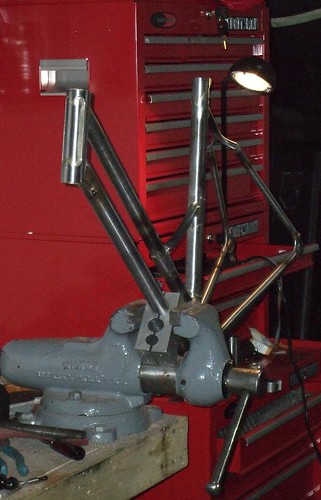
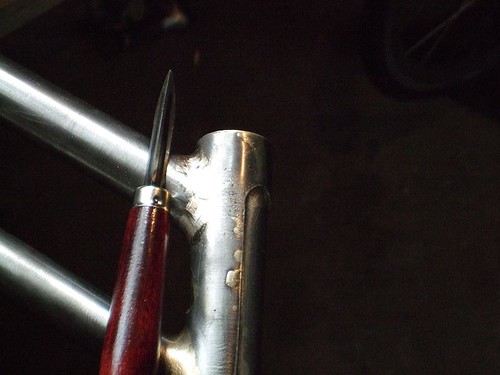
Unfortunately my camera battery died just as I was setting up to work on the current lugged road frame so I don't have very many process pictures. I did get the battery charged though, and will be picking up again now that most of the frame brazing is done. I'll leave you with a 10pm head lug picture though. The whole joints worth of silver was pulled in from the tip of the top tube point.

Sunday, April 6, 2008

Working Dog?

Nope- not a euphemism for my approach to bike building.

I'm talking about Charley, my 80lb lap/shop dog.

My friend Andrew has a great blogwith a focus on his vizsla's training progress as bird dogs. Vizsla's are a very pretty red hunting dog of medium build that seem to turn out as very eager working dogs.

Charley is a classic American pound pup- we picked him up as a small black rottweiler that quickly blossomed into a large black lab. I blame the unconquerable viral genes of the labrador. They could mate with chairs and produce black lab puppies.

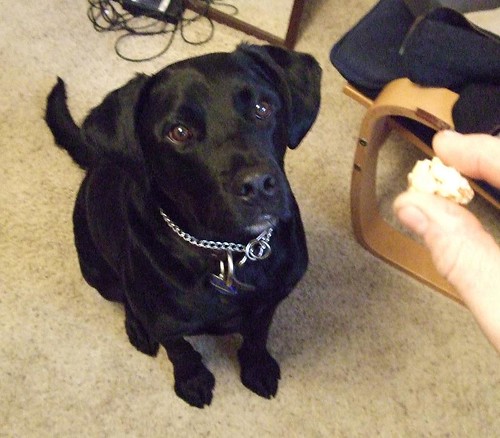
Charley just had his third birthday, and after quite a bit of work, here he is executing a very distinguished point.

Currently he and my wife are working on his retrieve by rolling a squeaky ball back and forth on the couch. This afternoon he will be marking cats out of the living room window. We've put quite a bit of work in on this, and he can now do it flawlessly with zero hesitation.

On the bike front I am finishing up tube selection for fully lugged road bike. Stay tuned for developments.

Friday, April 4, 2008

When little tubes grow up...

... They become racks.


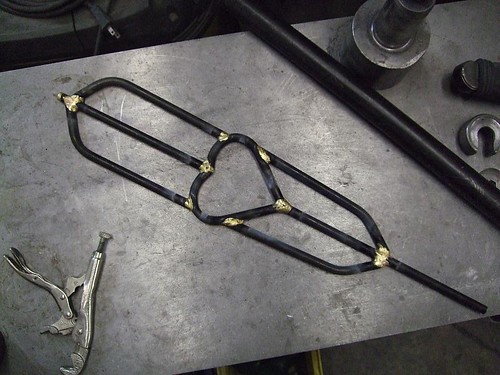
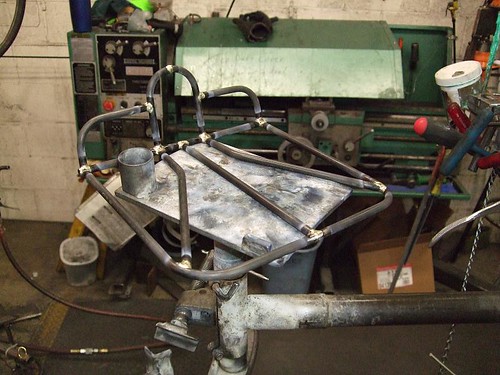
I've been working on a few rack projects from cast off 4130 tubing. We use a lot of this at work for supports and stock racks. I try to pick up bits that are over a couple inches long but to short for shop use. Every so often I end up with enough to crank out a rack platform. The image above is the feather shaped platform that became the rack on the (just completed) step through.


Take a look at the chain guard and new decals/ head tube badge prototypes.


This week was a long one at 46 bikes (hence the late blog update). At the end of the day, one must ask oneself "What is the best way to relax after another long day?".

By combining re-used materials with a love of bicycling, fire, art deco design and 80's Atari iconodulism to make a pretty neat-o small porteur-esque front rack.

This will be for my randonee bike, and I'm debating adding an integrated decaleur (bag mount). Since I don't have a bag yet, I may hold off and just make the support modeler in case I add one down the road.

Thursday, March 27, 2008

Why build custom?

This has been a pretty great week. Ok, so at 7 this morning I ate it hard on some ice (and spend most of the day eating vitamin I and sleeping), but other then that, pretty darn sweet.

For most of us custom built bikes are a decadent luxury. Sure, I am pretty darn flexible and have really long monkey arms and short femurs, but deep down I know I'd be ok fit wise with a 53 to 55 cm road bike from any of the major companies. While I have built bikes with a much more precise fit (in some cases event specific fit), it's really not necessary so much as fun, challenging and technically interesting. And thats the case for 98% of the bicycle riding public. Does it mean they don't want, deserve or purchase custom? Hell no- custom is fun, and a chance to get what you want how you want it.

But every now and again, you find a customer that really, truly, needs a custom fit.

This week I have had the pleasure (at my day job) of building bikes for a 4ft tall 100 pound rider, and a 6'2" 350lb rider.

I don't know of a quality stock bike on the market that would really fit and preform well for either of these customers, and I am proud to help make options available to folks well outside the boundaries of a saddle and stem swap. Outside of cool lugs and fancy paint, this is what custom means to me.

Oh, and I finished the torch (and most of the clean up) work on the step through.

Tuesday, March 25, 2008

Fittings and such

Hi folks! I took the weekend off, but am back to work on the step through. This bike will be getting a few one off fittings (accessories) that I will try to photo document and post pictures of. I realized that a few of the special features planned for this one would loose the surprise for the rider if I posted them here first, so I'll be saving a few for later release.

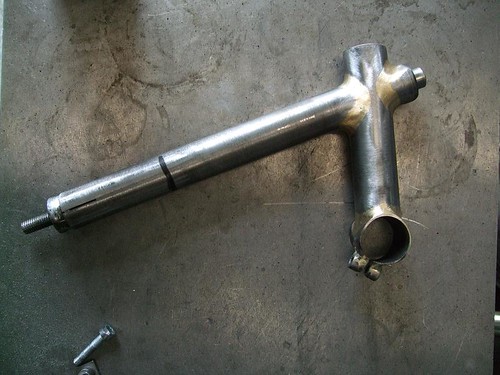
In the meantime, I have started a flickr collection called "Fittings" to show some of my accouterments such as stems, racks, chain guards, etc. I did a quick 6 step progress series for a Cinelli style quill stem slated for this bike. I've made a few of these, but this was the first where the quill pierced the extension. Made the job a fair bit easier, and it looks really good. I think I'll stick with it for now.

Tuesday, March 18, 2008

Too much coffee...

While following random links in Flickr, I ran across an interesting picture taken during an Independent Fabrications factory tour. On the Bicycle Escape shop Blog they talk about a trash can at IF filled with Dunkin Donuts cups and mention "IF runs on Dunkins" (a twist on the company slogan "America runs on Dunkin". Wow, that started the nostalgia/ serendipity bandwagon!

Just that day my parents contacted me and mentioned they wanted bikes. I haven't seen them ride for about 20 years, so I was rather excited by all of this! Now, the one unspoken constant in the Estlund household is the constant flow of coffee, and generally at my folks place that is DD's. As a youngster I used to drink ungodly amounts of the stuff (a gallon a day would be conservative). And while my tastes have developed (more espresso based) and quantity diminished (I limit myself to about 8-12 shots a day), the link is still strong. The orange and pink bubble letters still bring back a flood of visceral memories (ice fishing, cold morning walks, late night runs in HS, my dad's uncanny Dunkin Radar that could track down the tasty brew in any northern state).

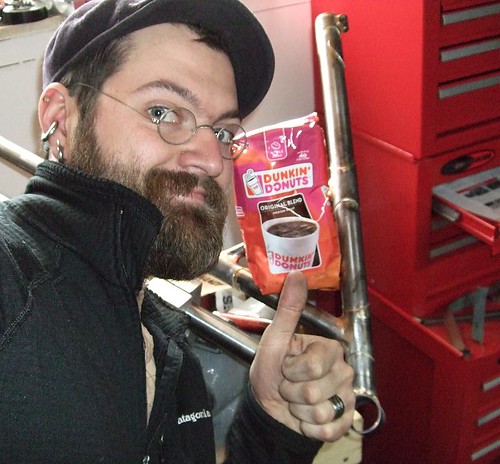
Not but a few hours after speaking with my parents my wife shows up with a bag of Dunkin Donuts coffee beans (from Target no less). She saw them on the shelf and they reminded her of my folks.

Dunkin Donuts was founded in 1950 in Quincy, MA (just south of Boston). IF is located in Somerville (just north of Boston), which is the same town my grandparents are from. Hell, if its good enough for them, its good enough for me. Now then, lets see what this does pushed through an espresso machine!


Ya ma! Thinkn' of you!

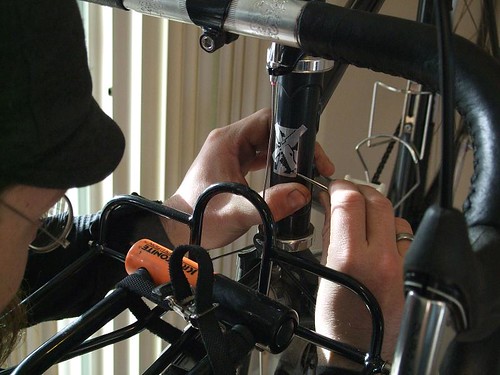
To continue the semi random chain of incidents, I figured out how to effectively use a tri-scraper to finish fillets. This is based on a suggestion from Ted Wojcik, long time NH frame builder. Thanks Ted!

Thursday, March 13, 2008

The wait is over!

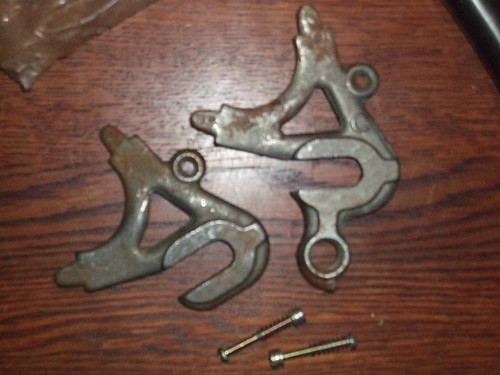
The last time I posted I mentioned searching for drop outs. Low and behold my boss at BF had this set he has been storing for about 20 years in a drawer that he was willing to donate. They are a bit rough in the casting, but the vintage makes them a great match for the frame, and I'm sure they will clean up great!

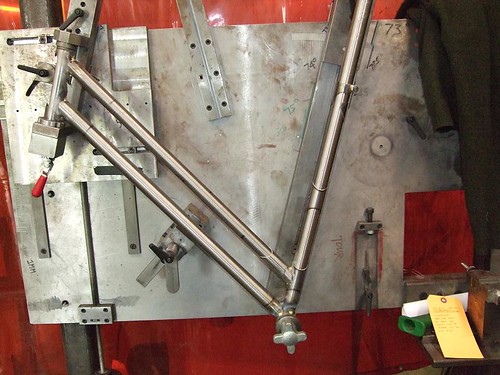
I have added a bunch of pictures to the flickr set for this build. I forgot my camera when I was mitering tubes, so we skip right from the raw tubing image to the bike in the jig for tacking.

After finishing the very compact sprint bike and very small 650b, this mixte frame adds a whole new level of "tight"! Those tubes are about 4" apart running parallel from the head tube to the seat tube. I'll add another micro TT from the actual top tube to the second bilaminate section to give the seat tube a little more support.

I have the front end fillets finished, but the light was no good for photos. I'll add the chain stays, braze in the head tube proper and sweat the laminate pieces and post some more pictures.